Port Forwarding
Port forwarding enables cloud desktop ports to be opened to your local network or the broader internet across Mexico. It's often paired with Remote Desktop Protocol.
This functionality is available for DaDesktop Course machines (which require a private server), as well as DaDesktop For Work and Standalone machines. Bear in mind that the interface might vary slightly across these machine types.
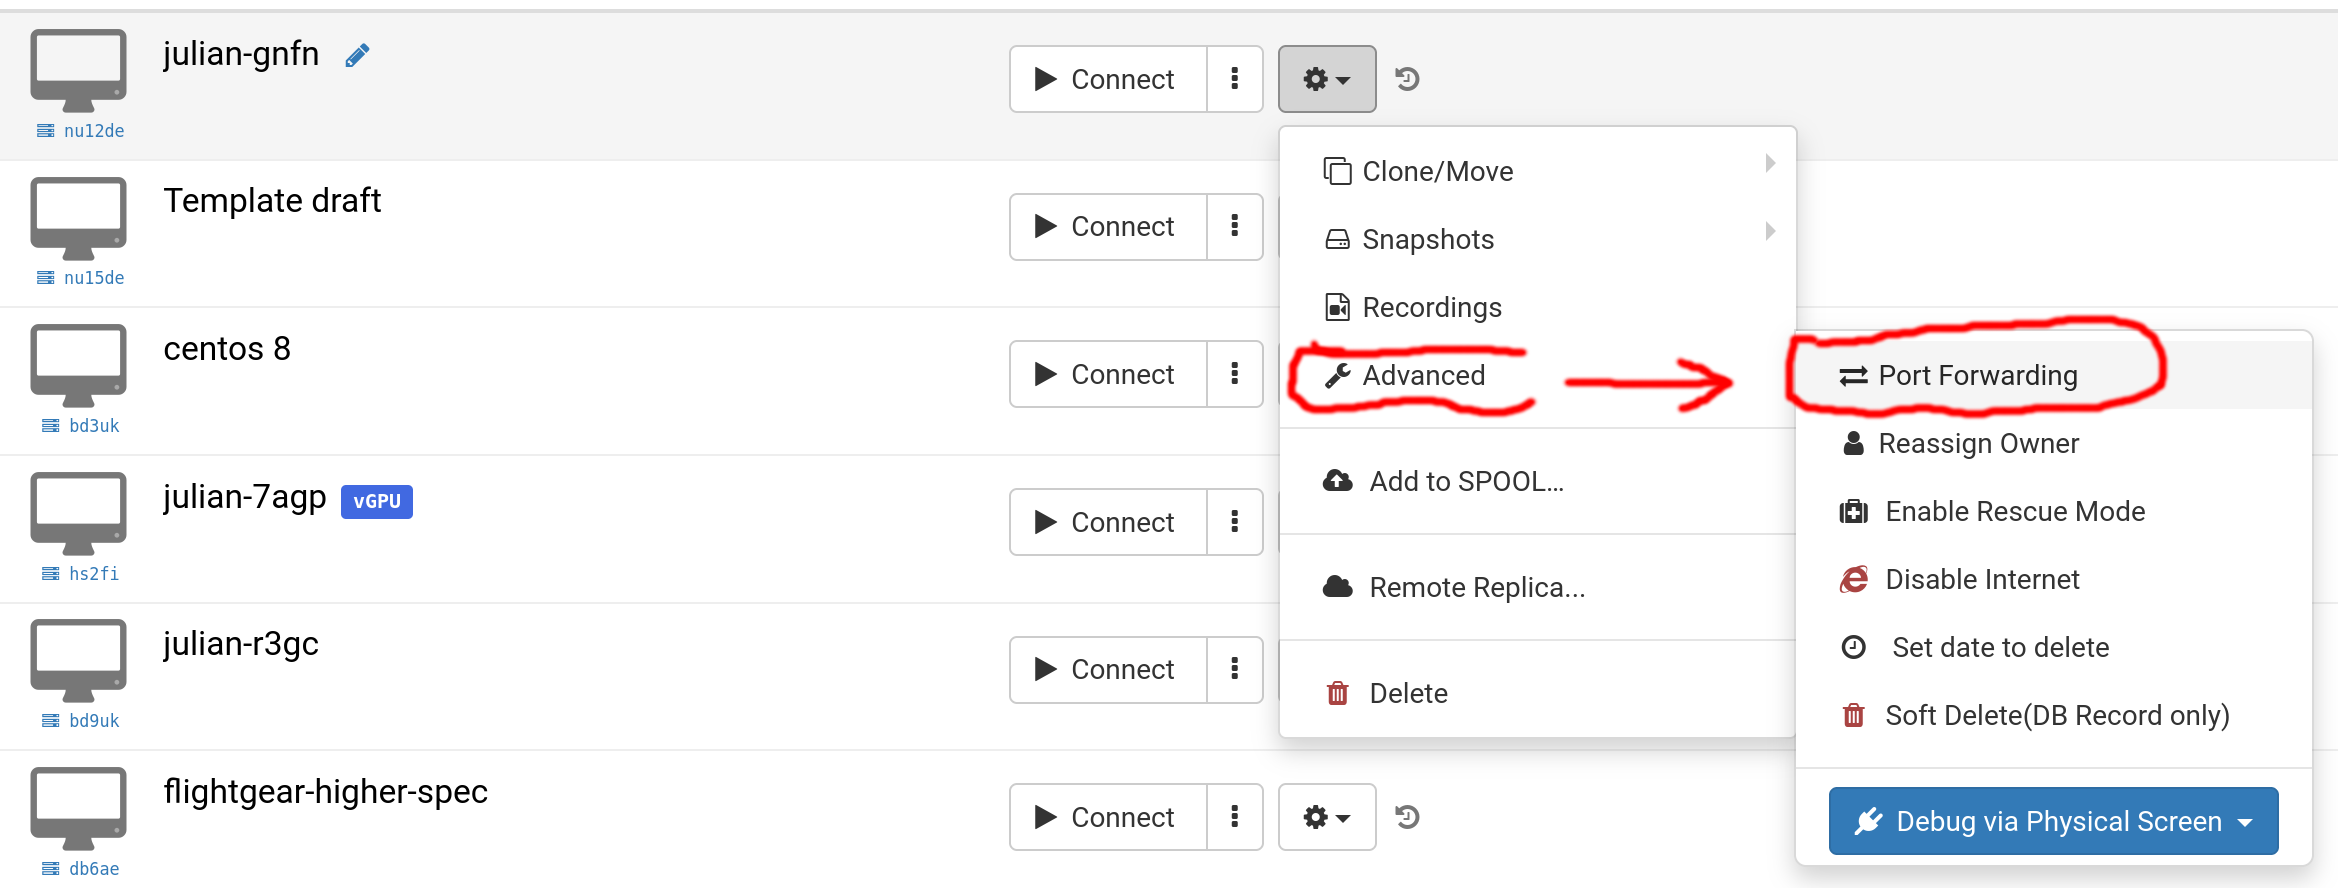
Choose 'Advanced' and then 'Port Forwarding',
Port forwarding can be set up via automatic or manual allocation. Auto allocation picks the next free port on the server, which is the recommended approach for simplicity. However, manual allocation lets you specify each external port individually (within the range 10000–65500) if needed. Any previously configured manual port forwards remain intact and can be modified at any time.
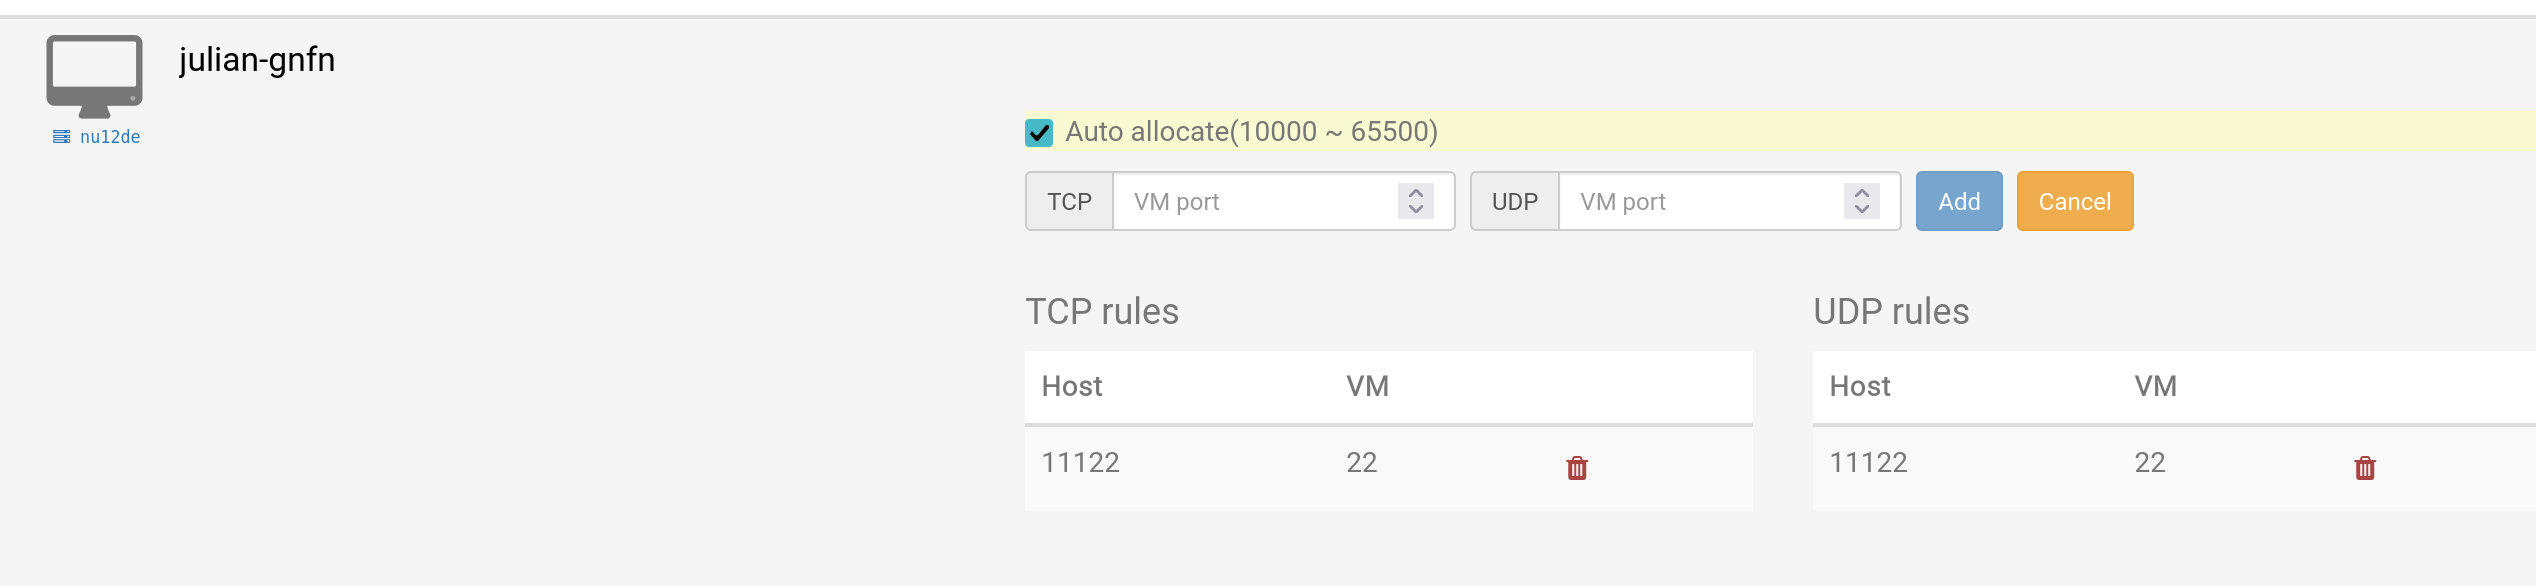
Auto Allocation
The screenshot below illustrates auto allocation, including a pre-existing manual forward that maps host port 11122 to port 22 on the virtual machine.
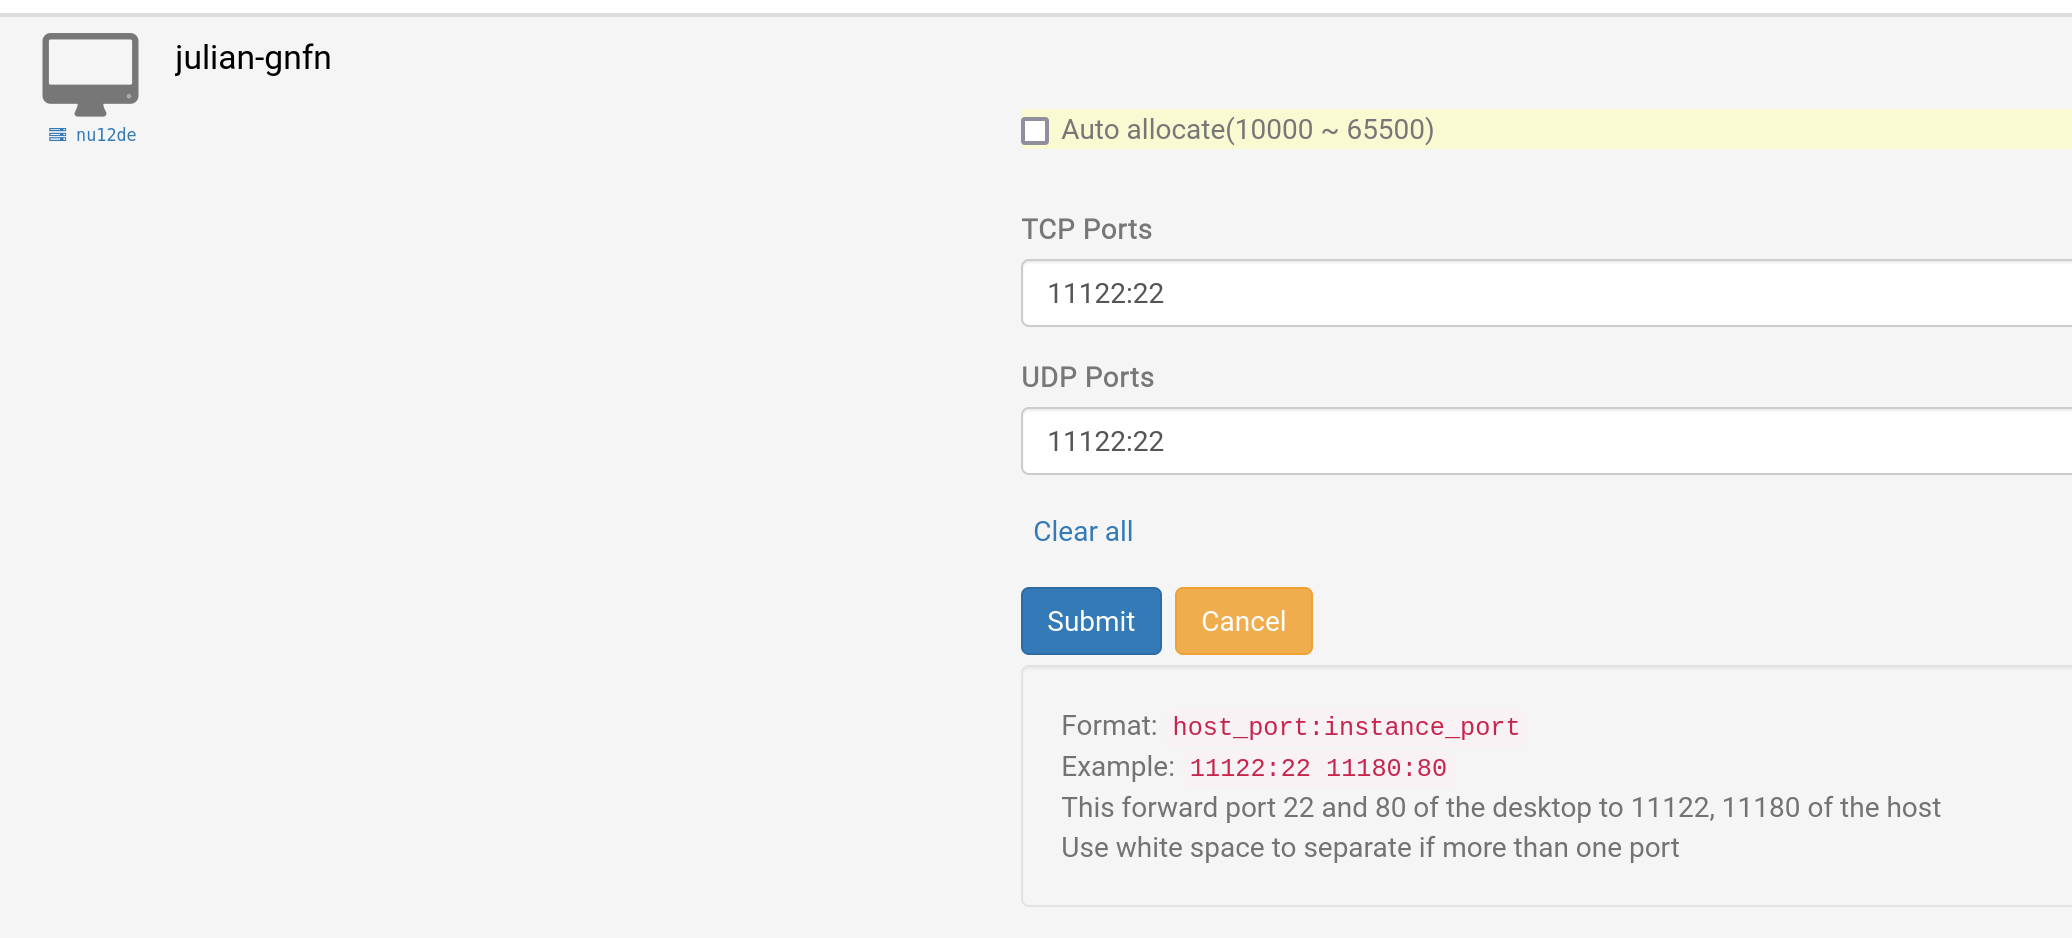
Manual Allocation
This example demonstrates configuring port 11122 to forward both TCP and UDP traffic to VM port 22 for SSH access. You can select different UDP and TCP port numbers if necessary.
Example for Windows RDP
This walkthrough uses manual allocation, but you can certainly opt for auto allocation instead.
1. Locate your DaDesktop desktop, select Port forwarding , and assign the TCP ports (for remote connectivity) using the format external_port:3389 (e.g., 66666:3389). Make a note of your port number; if you forget it, you can simply revisit Port forwarding to retrieve it.
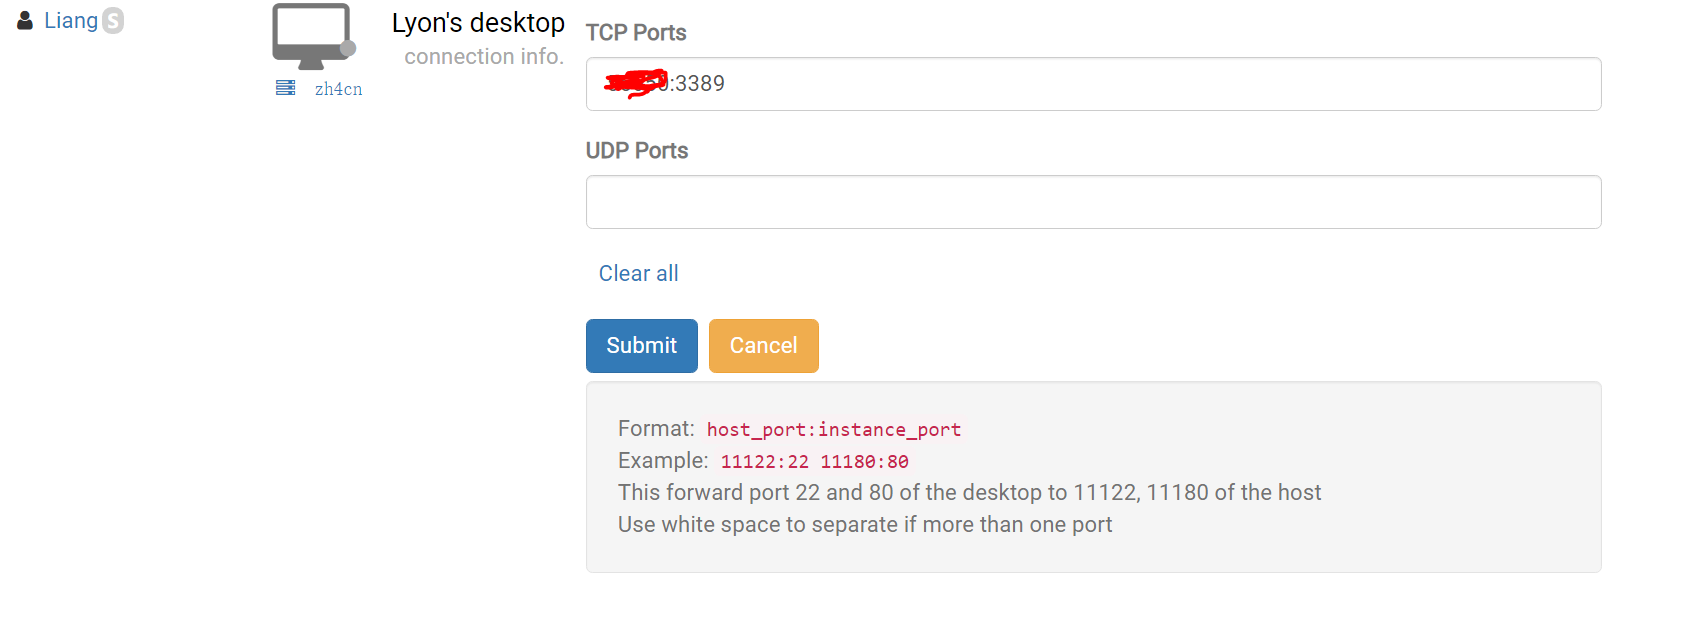
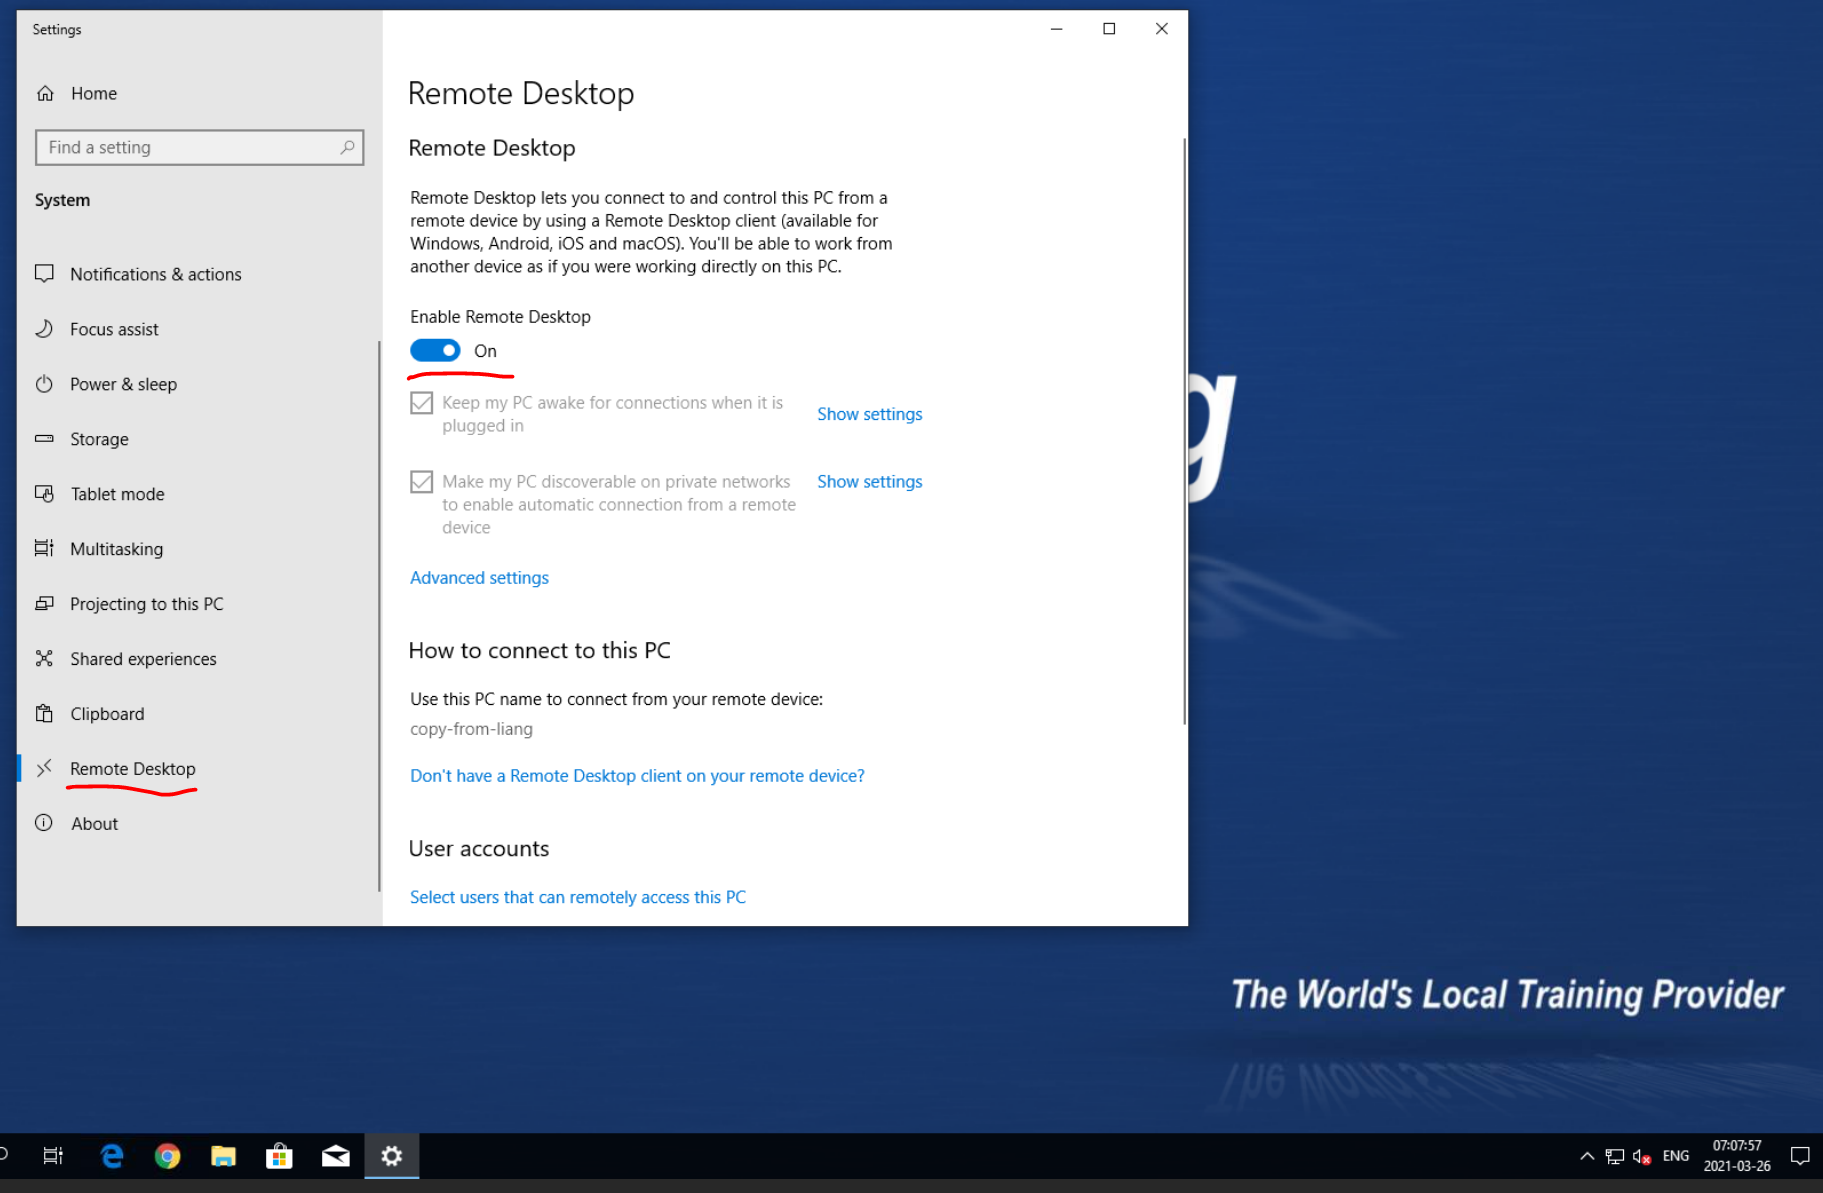
2. Submit the settings and create a password on your Windows DD machine, then choose 'Enable Remote Desktop'.
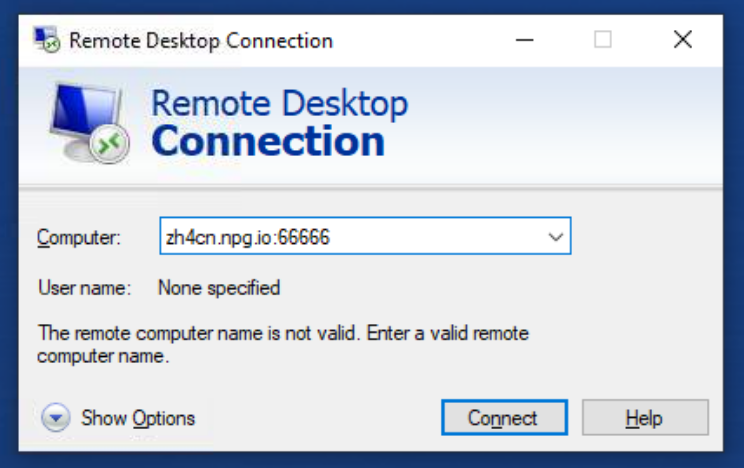
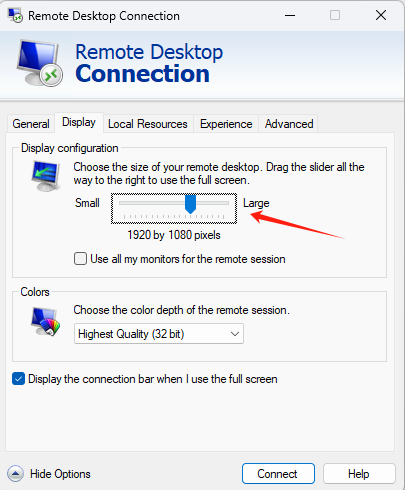
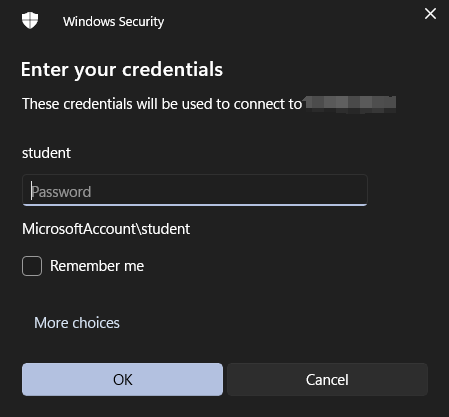
3. On your Windows device, open Remote Desktop and enter the server name together with the TCP port (e.g., zh4cn.npg.io:xxxxx if using zh4cn). Under 'Show options', you can also adjust the display resolution of the remote session.
3.1 To access your DaDesktop remote desktop, by default
"You must first reset your username and password on the machine."
After that, establish the remote connection.
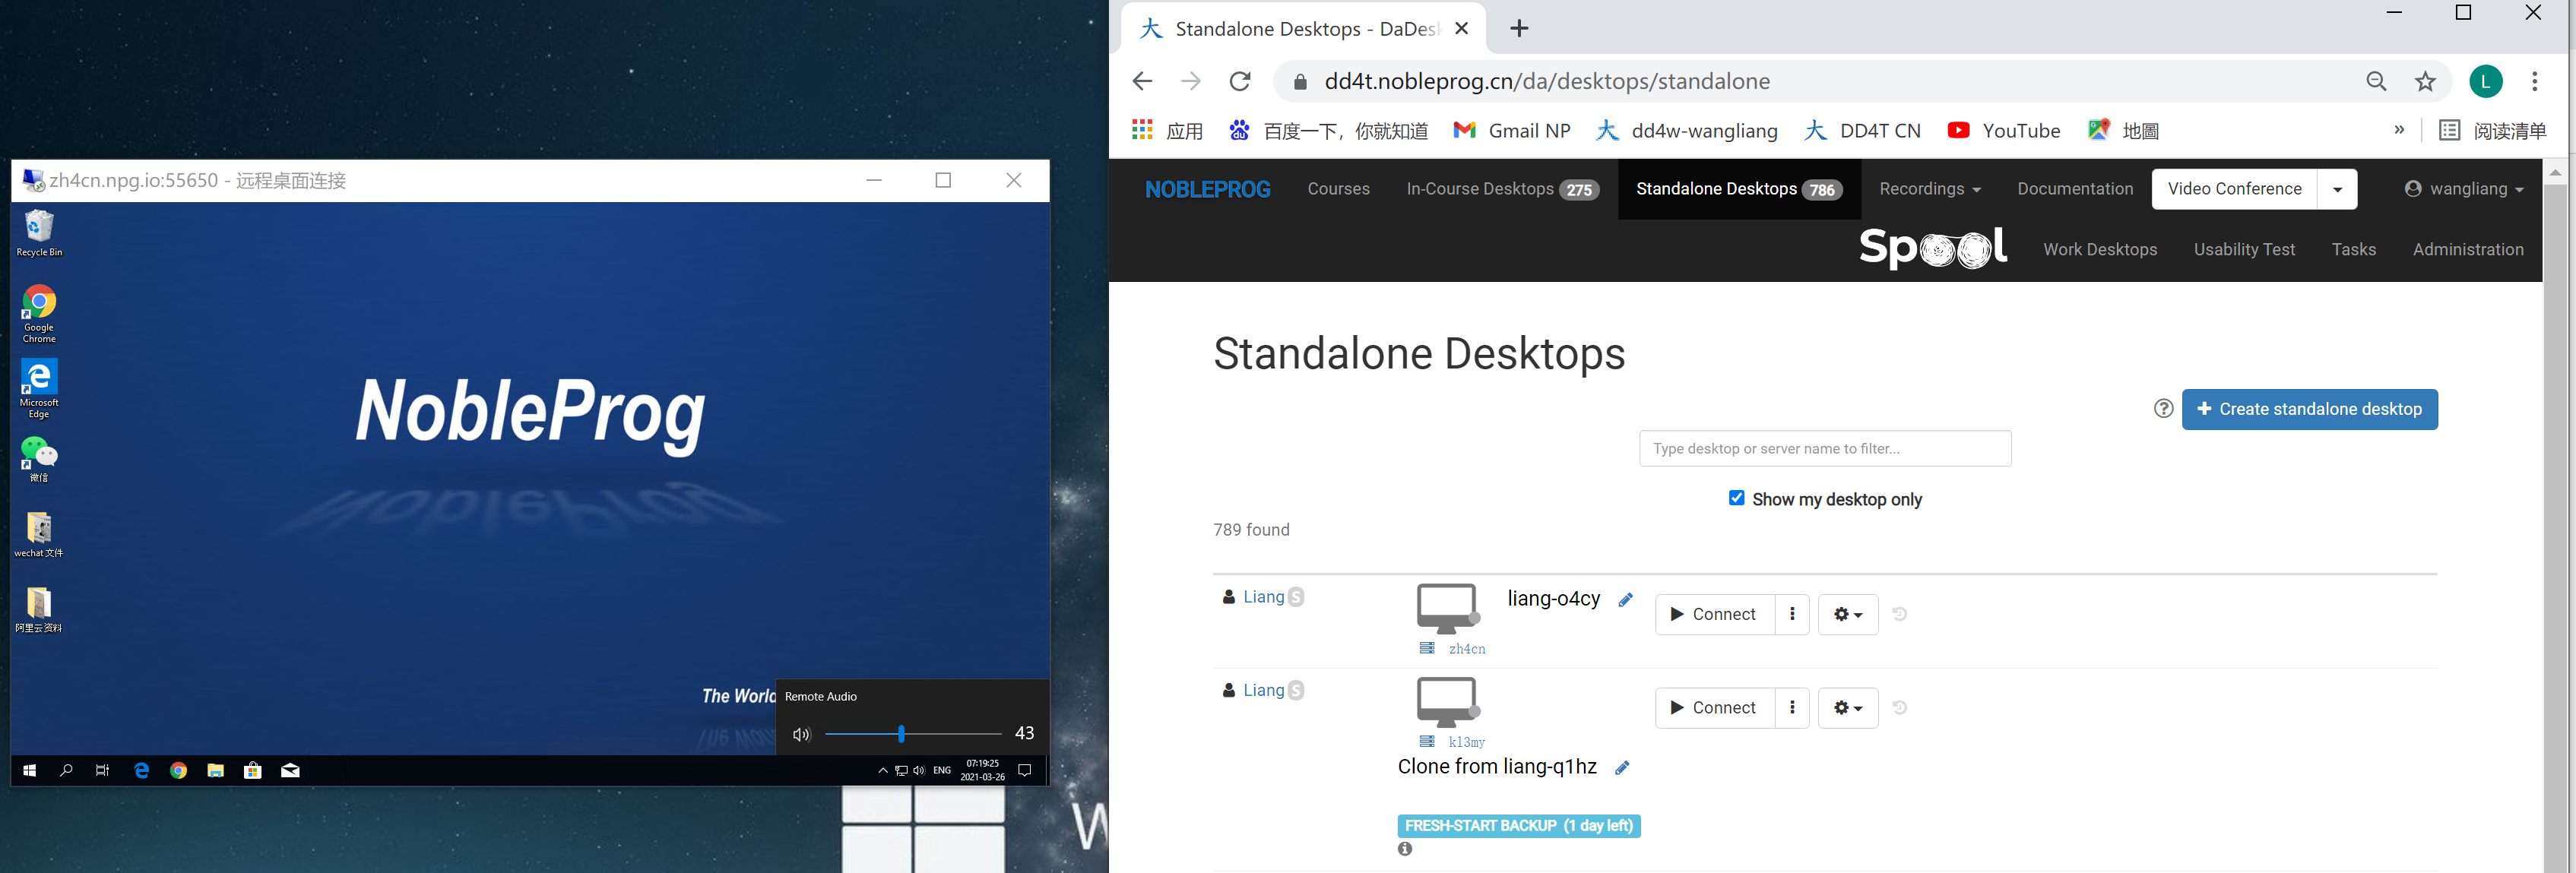
4. Now you’ll have a remote desktop running on the DD template, with audio passed through from your own device. You can seamlessly copy and paste or export documents. (The small window on the left shows a DaDesktop remote session with sound.)